Hey there! I'm so glad you're here! I'm Monica Brown, a wedding photographer from Indianapolis who loves to celebrate couples & photographers. I hope you enjoy browsing through recent work, advice for brides & photographers, and taking a peek into our personal life!
photographers
FOR BRIDES
Couples
Weddings
portraits
personal
welcome to
the blog

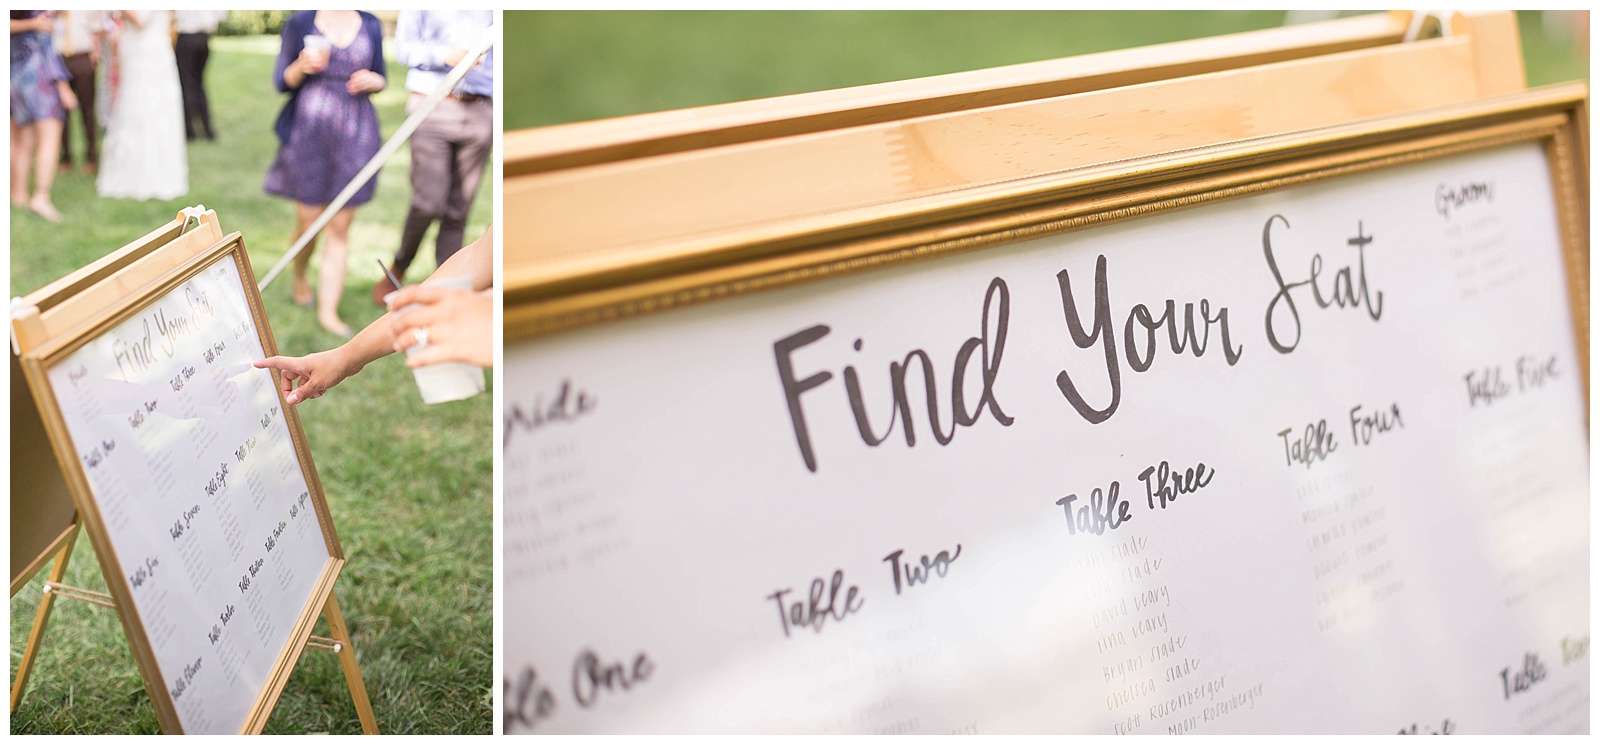
If you’ve chosen to have assigned seating for your reception, you have come to the dilemma on how to communicate the seating arrangements to your guests. While there are tons of ways to do this, the two we most commonly see are:
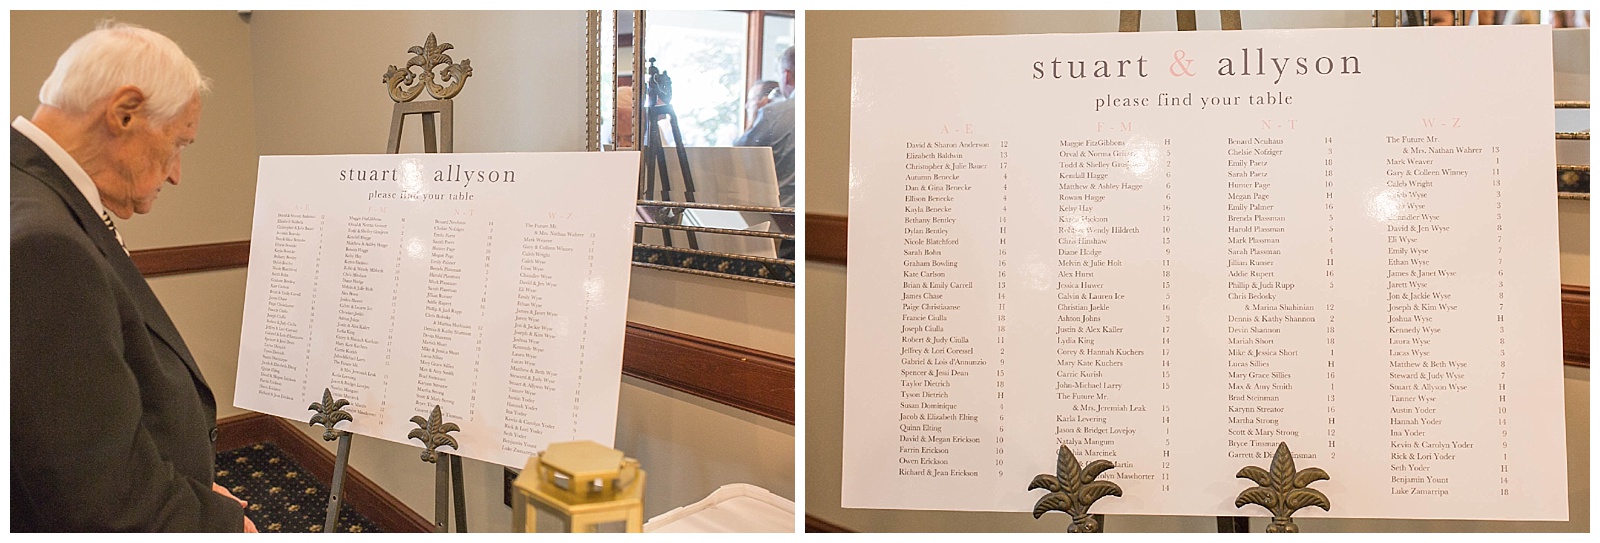
By Table or Alphabetical By Last Name
Either works well and sometimes one looks better than the other depending on what you plan to display the names/tables on so, like I always try to emphasize, do what YOU want!! However, we have noticed that it’s typically easier & quicker for your guests to find their seats by option two: alphabetical by last name. Instead of having to scan every table, their name is easy to find.

How to create your seating plan:
TIP 1:
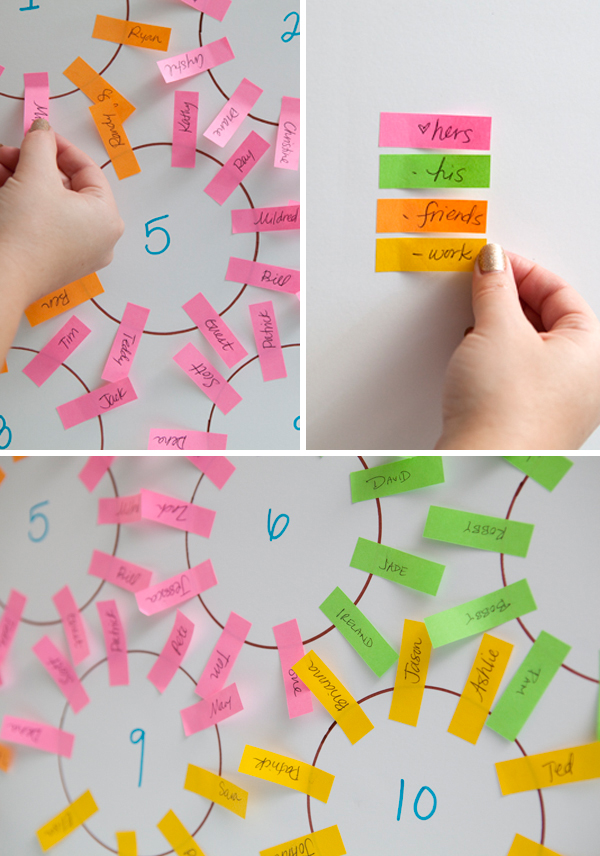
If you’re a visual person like me, I highly recommend laying it all out on paper. Grab a marker, poster board from Dollar General (it’s actually cheaper than $1 there), and small sticky notes. Draw out your reception layout with the tables + numbers on your poster board. Use the thin sticky notes & write everyone’s name who has RSVP’d yes. You can even sort by color- your family + friends, your groom’s family + friends, work friends, etc. Check out this post from Something Turquoise for a break down on what I’m talking about- SO helpful!! This may seem pretty tedious, but it’s worth it! AND it helps your remember who’s coming because you wrote it out 🙂 As your discuss with your man, parents, and future in-laws on who should sit by who, you can easily make the changes you need simply by moving the sticky notes around.

Image from Something Turquoise– check out the full post through the link above
TIP 2:
Think about your seating display several months ahead of time! Depending on if you have a graphic designer or calligraphy artist design your display, or if you’re doing it yourself, the timeline will look a little different for each.
I’d recommend adjusting your expectation now that there will inevitably be someone (or a few people) who RSVP’d yes, but won’t be able to attend last minute due to some unforeseen circumstance. When it comes to your seating chart, you don’t need to sweat that and you can still plan to have your seating done 1-3 weeks ahead of time. How do you want to create the seating chart that will be displayed on your wedding day?
Want to use a graphic designer to digitally print?
We highly recommend Ivory House Creative and here’s what the owner, Kenzie, recommends: “For digitally printed seating chats I usually recommend starting the process a couples months out. Usually I design a template and then once the couple gets their guest list finalized, preferably 2 weeks prior to their wedding day, all we have to do is populate names.”
Want to use a calligraphy artist?
We highly recommend Jen K. Calligraphy and here’s what the owner, Jen, recommends: “1-2 weeks is perfect time (for me at least). It can vary per calligrapher. But 1-2 weeks is a good general time frame. This includes any other “day of” items like place cards, signage, etc. (unless its something specialty like laser wood cuts or letterpress, etc.). I like to hand over everything to the bride about 3 days before the wedding.”
Want to print it yourself?
We recommend waiting until 1-2 weeks prior to your big day to print or write out the seating chart. My bridesmaid Jessica and I actually printed ours ourselves 2 days before my wedding which felt/was super stressful for me. I wanted to take the last few days leading up to the wedding to relax and this was one detail that hung over my head. It was a big weight off when we finally got it done! Please learn from my mistake and get this done 1-2 weeks ahead of time- you’ll be so happy you did!!
TIP 3:
Have fun! If you’re at this stage in your wedding planning then that means your big day will be here SOON and all of your favorite people will be in on place celebrating with you and the love of your life!
You got this! Happy marriage + wedding planning!
XO,
Mon

